Deep Live Cam install guide for Mac and Windows, and when to pick Deep Face Cam
A practical comparison for people choosing a local face swap app: desktop packaging, live camera mode, video swaps, privacy, setup effort, maintenance, and alternatives such as FaceFusion, DeepFaceLab, and DeepFaceLive.
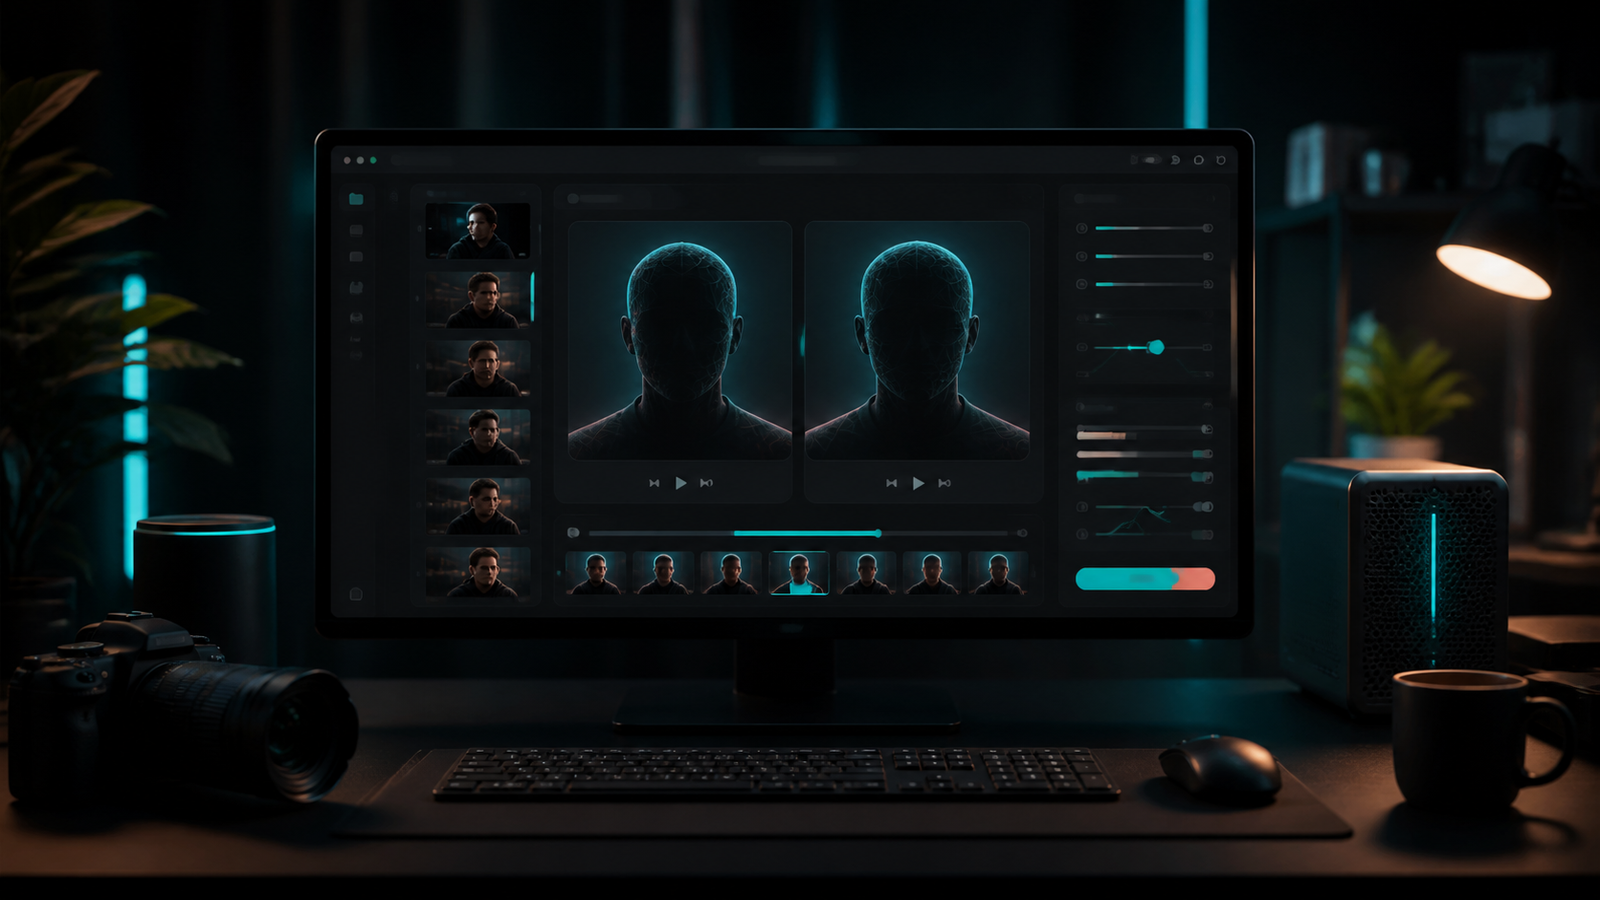
If you are comparing Deep Face Cam vs Deep Live Cam, the real question is not “which project has the most impressive demo?” The better question is: which workflow can you actually install, explain, repeat, and trust on your own machine?
Both projects sit in the local face swap category. Both work best when private images, videos, and webcam frames should stay off cloud editors. The difference is product shape: Deep Face Cam is built around a desktop app experience for macOS and Windows, while Deep Live Cam is a widely known open-source project focused on realtime and video face swap workflows.
Quick answer
Choose Deep Face Cam if you want a local desktop face swap app with a clearer app shell, explicit model download steps, supporter installers, and a workflow that is easier to hand to non-technical users. Choose Deep Live Cam if you already like its open-source workflow, are comfortable with Python-style setup, and mainly care about its existing realtime face swap pipeline.
Versions, evidence and a repeatable workflow
Documentation reviewed October 5, 2026. Deep Face Cam installer names refer to the v0.1.0 package previously checked on September 23, 2026; confirm the current Patreon post before choosing a file. These are setup comparisons, not measured speed or image-quality rankings.
Deep Face Cam and Deep Live Cam are separate projects. The Deep Live Cam repository now offers both manual setup and a linked pre-built edition. Compare the particular edition and platform you plan to use; packaged installation is not exclusive to Deep Face Cam.
For Deep Face Cam, choose Apple Silicon versus Intel on macOS, or CPU, DirectML and CUDA on Windows. For Deep Live Cam, follow its own edition’s platform instructions. A model name or a similar product name does not make their installers interchangeable.
Try the same short clip before choosing
- Use a 5–10 second clip you have permission to edit, with a front-facing subject turning to profile. Keep resolution and frame rate unchanged.
- Select the correct CPU or GPU backend. Let the first model download finish; keep that initial setup time separate from processing time.
- Preview and export with enhancement off first. Inspect side profiles, glasses, occlusion and mouth movement, then repeat with enhancement if needed.
- For live use, check the selected camera, preview latency and the receiving application separately. Successful file export does not prove a working virtual-camera route.
Record the app version, installer, OS, GPU/driver, model, input duration and resolution, enhancement settings, preview time, export time and any failure. No controlled device timing was collected for this article.
See the existing Deep Face Cam output examples. These are product examples, not identical-input comparisons against another tool. Follow the local video workflow.
How to install Deep Live Cam on Windows and Mac
The hacksider/Deep-Live-Cam repository remains active and unarchived, with recent code pushes recorded on October 24, 2026. Its official README includes manual setup guides for Windows, Linux, and macOS. Although many older third-party tutorials still tell you to use Python 3.10, the current documentation recommends Python 3.14 and supports versions 3.11 through 3.14. Follow these official steps to install the open-source version on Windows or Mac:
- Install prerequisites: Install Python 3.11 to 3.14 (with 3.14 recommended), along with pip, Git, and ffmpeg on your computer.
- Clone and prepare the environment: Clone the
hacksider/Deep-Live-Camrepository, create and activate a Python virtual environment, and install the required dependencies. - Place the required models: Download
gfpgan-1024.onnxandinswapper_128_fp16.onnxas listed in the README, then move both files into the project's models folder. - Configure hardware acceleration: Set up the ONNX Runtime backend for your hardware—such as CUDA for NVIDIA GPUs, CoreML for Apple Silicon Macs, DirectML for Windows, or OpenVINO for Intel—noting that
modules/core.pyautomatically checks providers in the order of CUDA, ROCm, CoreML, OpenVINO, DirectML, and CPU. - Run the application: Start the program with
python run.py, and add the execution-provider command-line option if you want to specify an acceleration backend manually.
If you want to skip manual dependency setup, the official website (deeplivecam.net) offers paid pre-packaged builds alongside the free GitHub source code. It lists a one-click installer for the Lite edition, a one-click batch installer script for Ultimate, and NVIDIA Quickstart downloads under a monthly NVIDIA subscription plan. On GitHub, version 2.8 (DeepLiveCam 2.8 Ultimate) was published on October 22, 2026, with the note "Get it exclusively at Deeplivecam.net".
If you prefer a local desktop app that does not require manual Python configuration, you can also try Deep Face Cam's native DMG and MSI installers (v0.1.0 early builds; see the installer table on this page). Separate packages are available for Apple Silicon Macs (aarch64 DMG), Intel Macs (x64 DMG), Windows with NVIDIA GPUs (CUDA MSI), Windows with compatible AMD or Intel GPUs (DirectML MSI), and a Windows CPU fallback (CPU MSI). All swaps run locally, and the app downloads model files only after you confirm.
Deep Face Cam vs Deep Live Cam comparison table
| Category | Deep Face Cam | Deep Live Cam |
|---|---|---|
| Best fit | Desktop users who want a packaged local face swap app for image, video, and live camera workflows. | Users who are comfortable with an open-source project workflow and want realtime or video face swapping. |
| Install style | Open-source code plus supporter builds for macOS and Windows packaging. | Manual source setup, plus a quickstart option linked by the official project. |
| Desktop feel | Designed as a desktop application with a native shell, visible controls, previews, and local settings. | Provides a GUI; manual installation still requires managing Python, models and the selected execution provider. |
| Privacy posture | Local by design. Media processing happens on the user's machine; model downloads require explicit confirmation. | Local project workflow, but users should review the repository, dependencies, and runtime behavior themselves. |
| Live camera | Includes live camera workflow as part of the desktop product direction. | Known for realtime face swap use cases and webcam-style demos. |
| Who will prefer it? | Creators, testers, small teams, and users who value a repeatable desktop workflow. | Technical users who want to experiment directly with an established realtime project. |
Platform and GPU setup: what to check
After installation, both tools support image, video, and webcam workflows—choose by the controls and repeatability you need day to day.
Check the current Deep Live Cam installation instructions when upstream steps change. For Deep Face Cam, use the installer selection below. This comparison describes documented setup; it does not claim a measured FPS or image-quality advantage.
What is Deep Face Cam?
Deep Face Cam is an open-source, local desktop face swap app for macOS and Windows. Its website positions the product around local processing, a desktop interface, explicit model downloads, and a simpler flow for images, videos, and live camera use.
The important point is not only the model pipeline. A face swap tool becomes useful when the full workflow is understandable: where source media goes, where outputs are saved, which model files are downloaded, how previews work, and whether a user can repeat the same process next week without rebuilding their environment from memory.
What is Deep Live Cam?
Deep Live Cam is a popular open-source face swap project. It is commonly associated with realtime face swap demos and video workflows, and its public repository gives technical users a direct way to inspect, run, and modify the project.
That openness is useful, but it also means users need to pay attention to their local environment: Python, dependencies, acceleration options, model files, and operating-system differences. For a technical user, that can be acceptable. For a creator, marketer, support team, or product reviewer, packaging and repeatability may matter more than raw hackability.
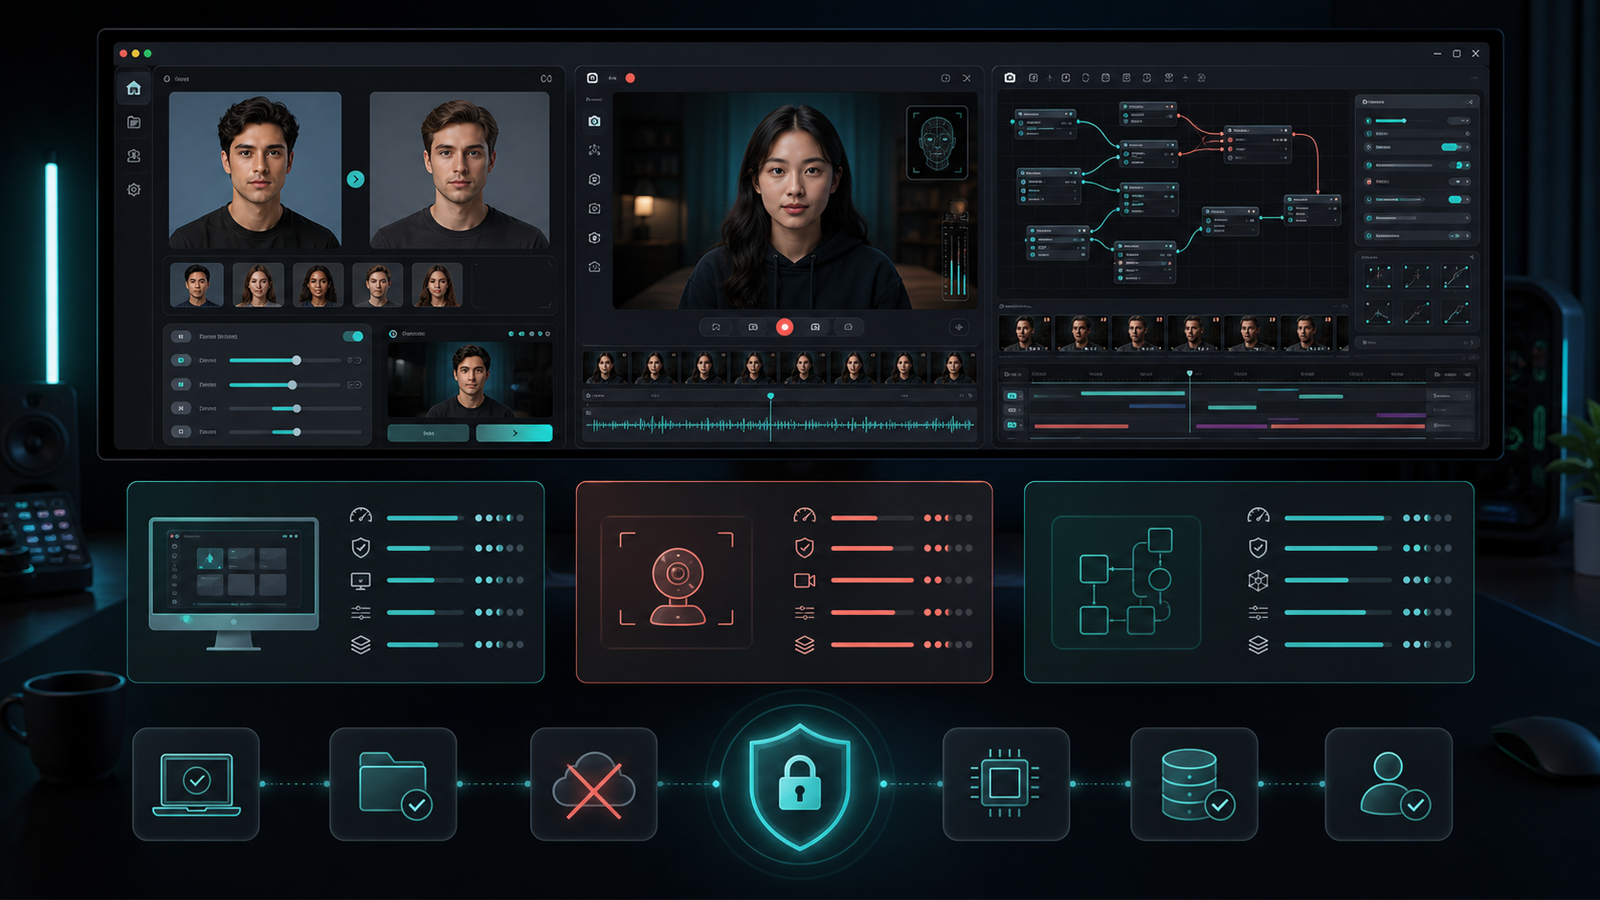
Choose a Deep Face Cam installer
The current Patreon post provides v0.1.0 installers. Select your processor and GPU backend before downloading.
| Your computer | Installer |
|---|---|
| Mac: Apple M-series | Apple Silicon (aarch64) · DMG |
| Mac: Intel | Intel (x64) · DMG |
| Windows: NVIDIA GPU | NVIDIA CUDA · MSI |
| Windows: compatible AMD / Intel GPU | DirectML · MSI |
| Windows: CPU fallback | CPU · MSI |
Install and test a short clip
- Open the matching DMG or MSI. On Mac, copy the app to Applications; on Windows, follow the installer.
- These early builds are unsigned. Check the source and read the operating-system prompt before deciding whether to open the app.
- Review and confirm first-run model downloads. Keep space for models and exports; initial setup requires internet access.
- Import a face and a short target clip, check the preview, then export or test live mode.
Choose Deep Face Cam if you want a desktop-first local app
1. You want less setup friction
Deep Face Cam is shaped like a product, not just a repository. The source stays public, while packaged supporter builds are intended to reduce the time spent on signing, packaging, and environment setup.
2. You need a repeatable workflow
For demos, testing, and content review, repeatability matters. A desktop app can make it easier to keep source media, target media, model downloads, preview settings, and export behavior in one visible workflow.
3. You care about privacy messaging
“Local by design” is easier to communicate when the product flow is explicit. Deep Face Cam emphasizes local processing and model downloads that happen after user confirmation.
4. You want macOS and Windows packaging
Cross-platform desktop users often care about the practical details: installer format, app data directory, model cache, preview behavior, and whether the same workflow exists on both operating systems.
Choose Deep Live Cam if you want direct project control
Deep Live Cam makes sense when you are comfortable living close to the project. If you already work with Python environments, GPU settings, and command-line troubleshooting, you may prefer direct access over a polished app shell.
This is especially true if your goal is experimentation. A repository-first workflow can be easier to modify, automate, or inspect at a lower level. The tradeoff is that non-technical users may find the setup and maintenance burden harder to justify.
How FaceFusion, DeepFaceLab, and DeepFaceLive compare
The practical tool set is broader than Deep Face Cam and Deep Live Cam. FaceFusion, DeepFaceLab, and DeepFaceLive cover different parts of the local face swap workflow.
FaceFusion
FaceFusion is a broader face manipulation platform with an active documentation site. It can be a strong option when you want a flexible toolkit rather than a narrowly packaged desktop product.
DeepFaceLab
DeepFaceLab is historically important for advanced deepfake workflows. Its official GitHub repository is archived, so evaluate it as a mature but less actively changing project.
DeepFaceLive
DeepFaceLive focuses on realtime face swap scenarios. Its official repository is also archived, which matters if you need active maintenance.
Cloud face swap editors
Cloud tools can be convenient, but they are a different category. If privacy, consent review, local testing, or internal workflows matter, local desktop tools are usually easier to reason about.
The practical local face swap workflow checklist
Before choosing any face swap tool, check the workflow rather than only the output demo. A polished sample clip can hide setup and maintenance costs.
- Install path: Can a new user install it without reading multiple issue threads?
- Model handling: Are model files downloaded intentionally and stored in a predictable location?
- Input clarity: Does the app make source, target, and output roles obvious?
- Preview loop: Can you preview before committing to a full render?
- Live camera behavior: If you need realtime use, can you test it safely before a meeting or stream?
- Output control: Can you find renders, clean temporary files, and reproduce settings?
- Responsible use: Does the product make consent and misuse boundaries clear?
Privacy and responsible use
Local processing is a strong starting point, but it is not a complete privacy policy by itself. Users should understand which files are read, where outputs are written, whether model downloads happen, and what network requests are expected.
Deep Face Cam documents a local-first design and publishes a responsible-use page. That matters because face swap tools can be used for legitimate creative, testing, accessibility, and internal review workflows, but they can also be misused. Do not use face swap software for impersonation, fraud, harassment, non-consensual intimate imagery, or deceptive public claims.
Which one is the best Deep Live Cam alternative?
For many users, Deep Face Cam is the better Deep Live Cam alternative when the goal is a local desktop face swap app that feels easier to install, explain, and reuse. It is especially relevant for macOS and Windows users who want an app-shaped workflow around images, videos, and live camera previews.
Deep Live Cam remains a useful project for technical users who want direct control and are comfortable with repository-first workflows. FaceFusion is worth evaluating if you need a broader face manipulation platform. DeepFaceLab and DeepFaceLive are still important names, but their archived status should be considered when maintenance matters.
FAQ
Is Deep Face Cam open source?
Yes. The source repository is public on GitHub. Ready-to-run supporter builds are offered separately to fund packaging, signing, testing, and maintenance work.
Is Deep Face Cam only for live camera use?
No. The product direction covers image, video, and live camera face swap workflows. If you only need realtime experimentation, compare it with Deep Live Cam and DeepFaceLive. If you need a desktop tool for multiple media types, Deep Face Cam is the more product-shaped option.
Does a local face swap app mean zero network access?
Not necessarily. A local app may still use the network for model downloads, documentation links, update checks, or project links. The important question is whether media processing is local and whether network behavior is clear.
What is the best tool for product demo videos or public examples?
Use a tool that lets you generate repeatable, consent-safe examples. For a public website, avoid showing real identifiable people without permission. Synthetic examples and clearly documented workflows are safer for long-term brand trust.
Does Deep Live Cam work on Mac?
Yes, the project includes a dedicated macOS installation path in its official documentation. On Apple Silicon Macs, you can enable hardware acceleration through the CoreML execution provider. After setting up Python, ffmpeg, and the two required ONNX model files (gfpgan-1024.onnx and inswapper_128_fp16.onnx), you launch the app from the terminal with python run.py.
Which Python version does Deep Live Cam need?
As of October 26, 2026, the official README recommends Python 3.14 for manual setups and supports Python 3.11 through 3.14. Older community guides that suggest installing Python 3.10 are out of date and no longer match the project's documentation.
Try the local desktop workflow
Explore the Deep Face Cam source code, watch the example clips, or use supporter builds if you want a packaged macOS or Windows workflow.
Paid installers on Patreon. Review the post for access options, then choose the file for your system.Related guides
This comparison covers packaging and maintenance. The guides below cover the settings that decide whether a given clip actually comes out usable:
- How to face swap a video locally on PC or Mac — the end-to-end desktop workflow
- How to swap multiple faces in a video locally — per-person mapping and identity switching
- GFPGAN vs GPEN: which face enhancer should you use? — enhancement cost and over-smoothing
- Real-time face swap on a local PC — capture, providers, FPS, and privacy
- Local face swap software for PC and Mac — the wider tool comparison
Sources checked
- Deep Face Cam GitHub repository
- Deep Live Cam GitHub repository
- FaceFusion GitHub repository
- FaceFusion installation documentation
- DeepFaceLab GitHub repository
- DeepFaceLive GitHub repository
- Deep Live Cam README (installation)
- Deep Live Cam
modules/core.py(execution providers) - Deep Live Cam release 2.8
- Deep Live Cam GitHub API (repository metadata)
- Deeplivecam.net quickstart
- Deeplivecam.net NVIDIA GPU plan